I waviered back and forth on the subject of exterior finish. For a while I thought I was going to turn one of the greenhouses into a paint booth and paint the RV white and red. The greenhouses turned out to be way too hot for painting and waiting for cool weather would push the painting season into the fall months if I was going to be able to manage the finish.
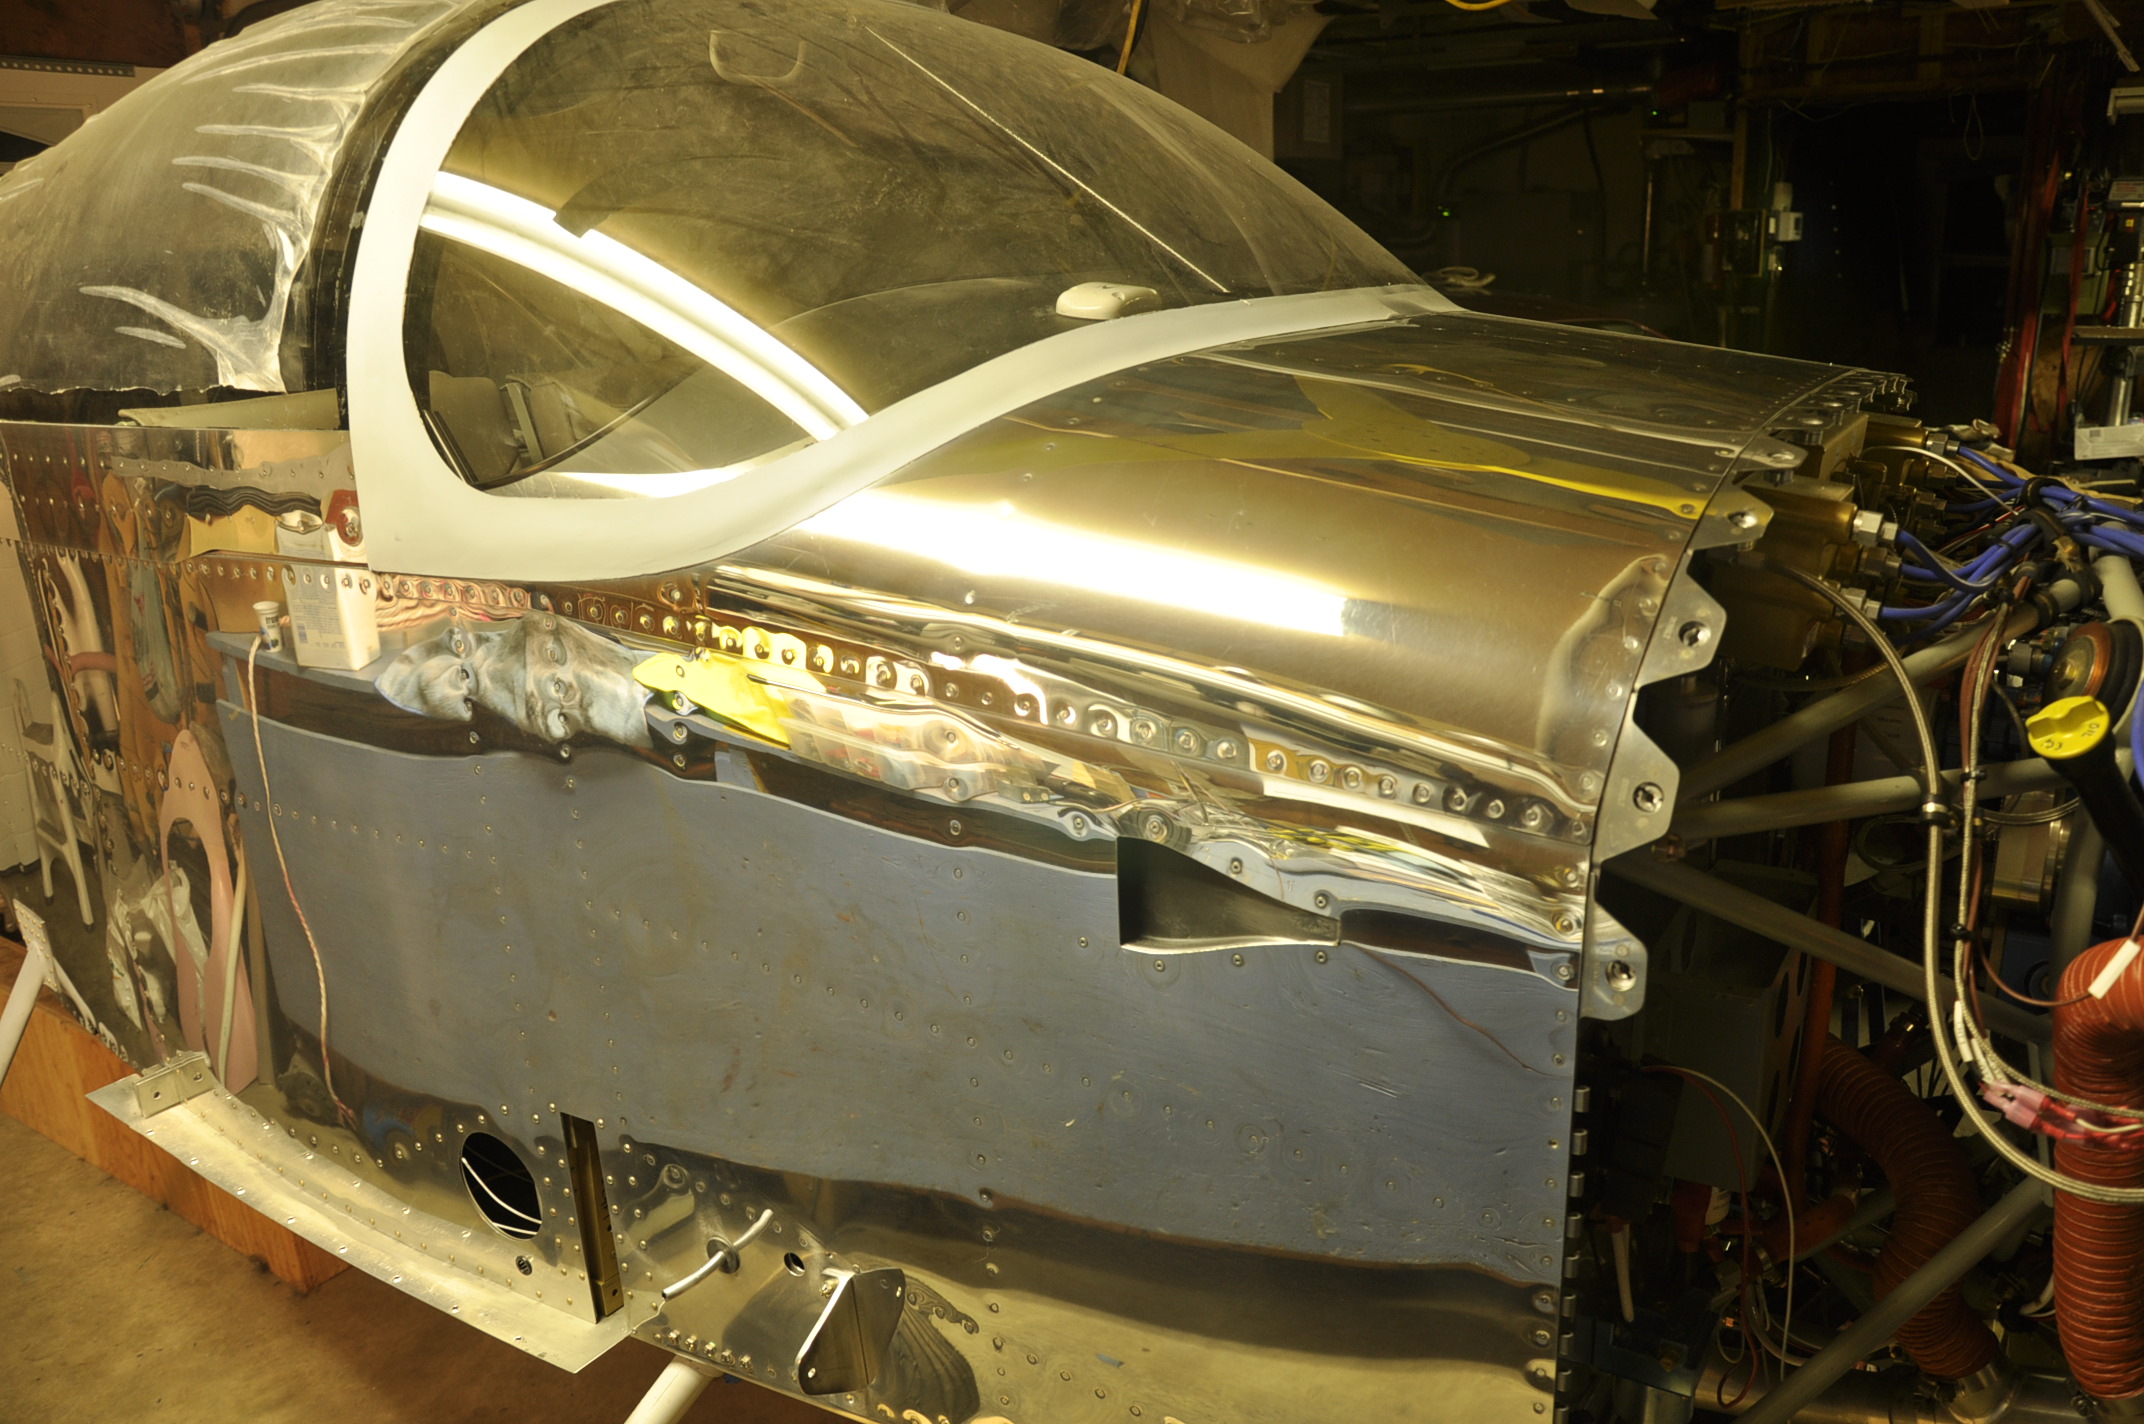
Throughout the build, I kept the concept of total polish with color trim on the fiberglass parts in my mind. I preserved the skins as much as possible, leaving the protective blue plastic in place until the very end. I read the Vans Airforce polishing forum several times and the thought of polishing didn’t scare me off. I found the Perfect Polish web site after reading about it on the Vans site several times. This turned out to be a good source of both materials and information.
 So I took the plunge and decided to try this polished metal finish on my project. So far, its been a very rewarding process. The polishing skills have developed now to the point that I know what I am doing and how to adjust these techniques to various metal conditions as I come across them. In this section of the Werks, I will attempt to pass on what I have learned about polishing a metal airplane. There is a lot of knowledge out there on the subject and as a newbie to this process I hope to pick up more tricks and skills that will reduce the polish time and increase the shine factor.
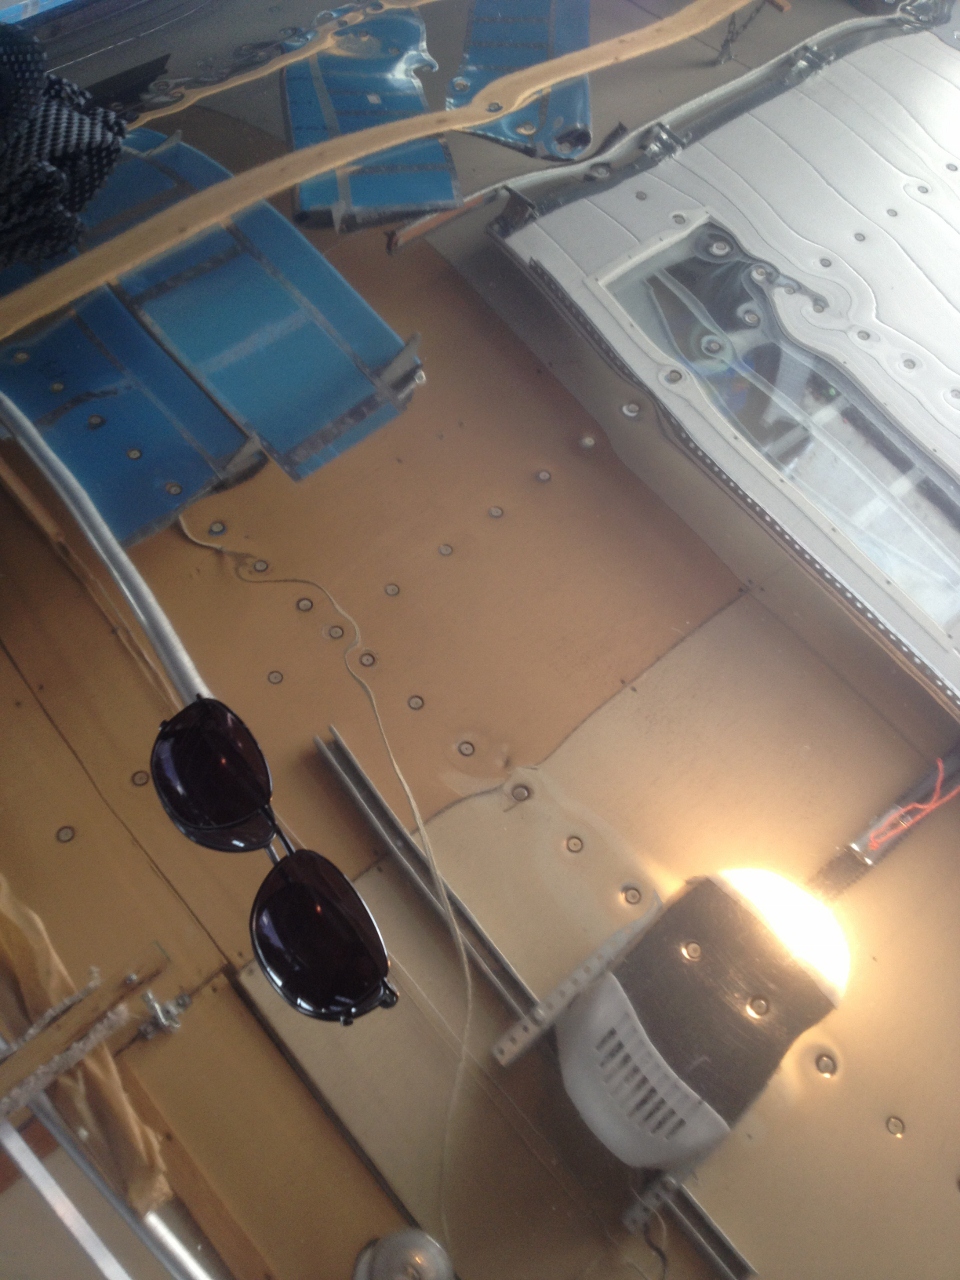
If you haven’t figured it out, my sun glasses are sitting on the polished wing and the ceiling full of aircraft parts is reflected into the camera.