Fuel Flow Tests

climb_fuel_flowThe Fuel Flow test demonstrates that the fuel pump is capable of delivering at least 125% of the fuel required by the engine under a high angle climb. This test also proves that all piping, screens and filters are clear and clean. For this test the following criteria were used:

The test climb angle is based upon a rate of climb of 2000 FPM. This is rate of climb is higher than the Van’s factory advertised ROC of 1900 FPM. Using 110 MPH as the climb speed covering a distance of 9680 feet in one minute results in a climb angle of 11.6 degrees.

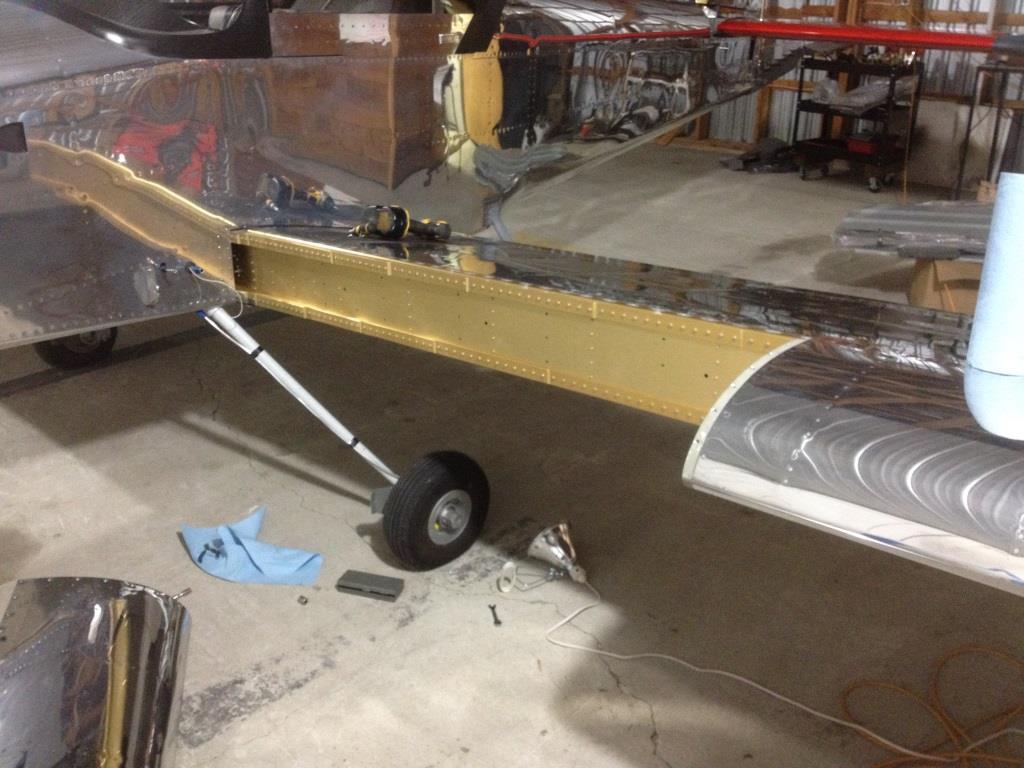
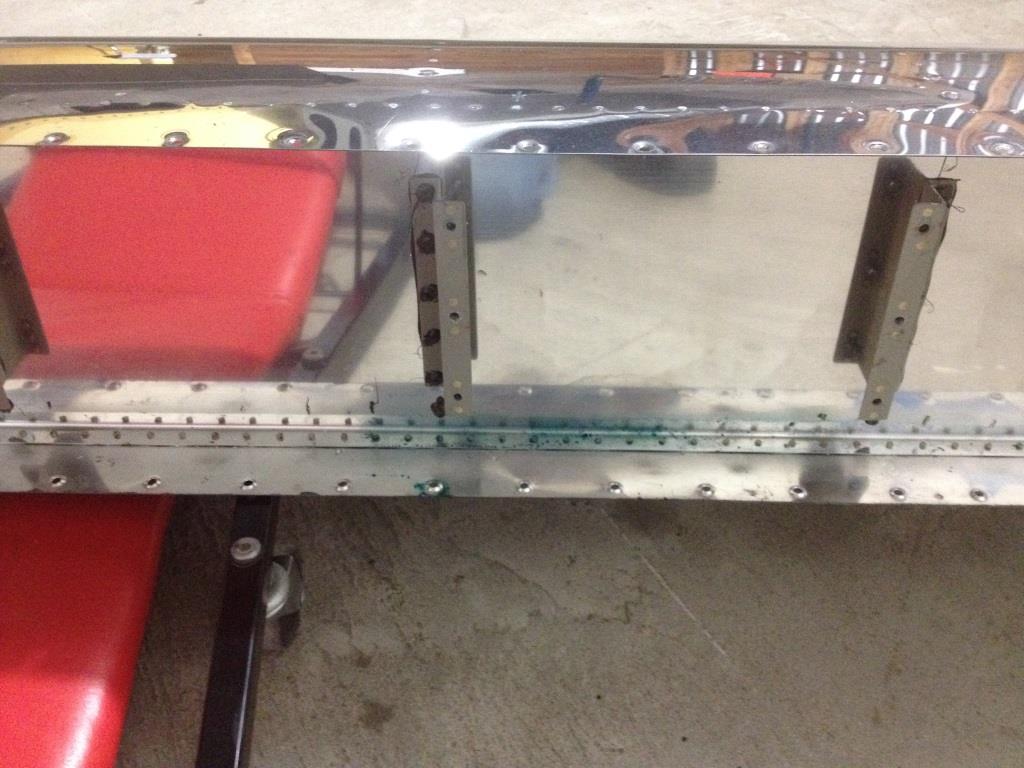
The aircraft cabin rails were used as the reference for level and climb angle. A digital protractor was used to set the aircraft to 11.7 degrees. Blocking was used under the nose wheel to maintain this angle.

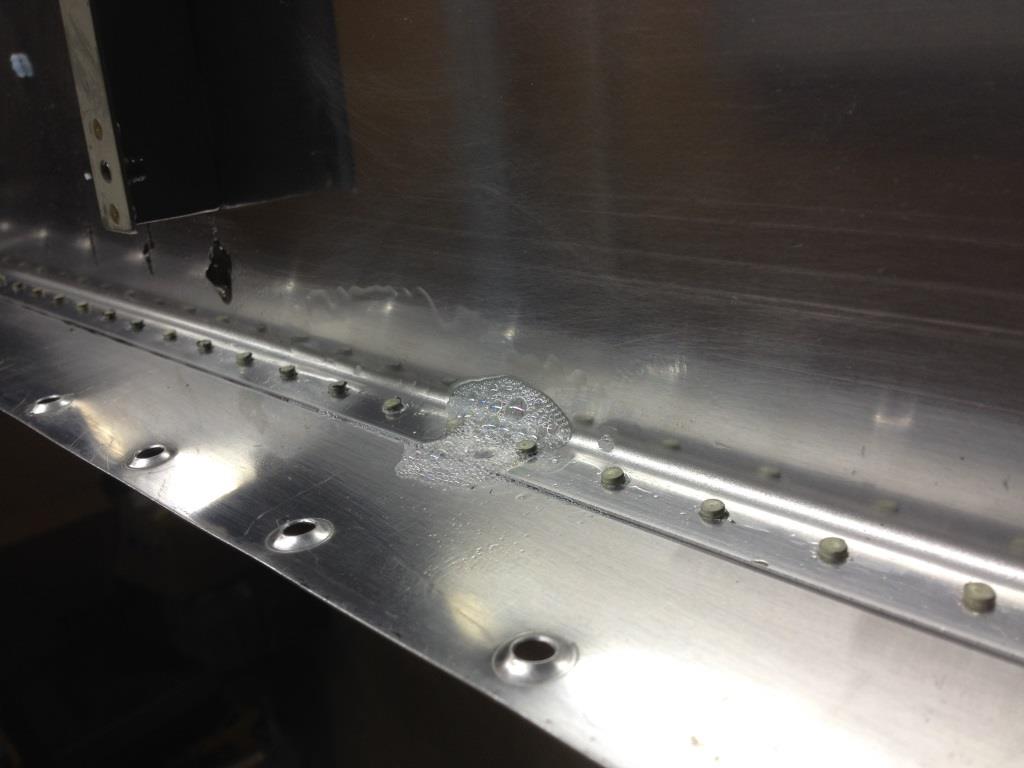
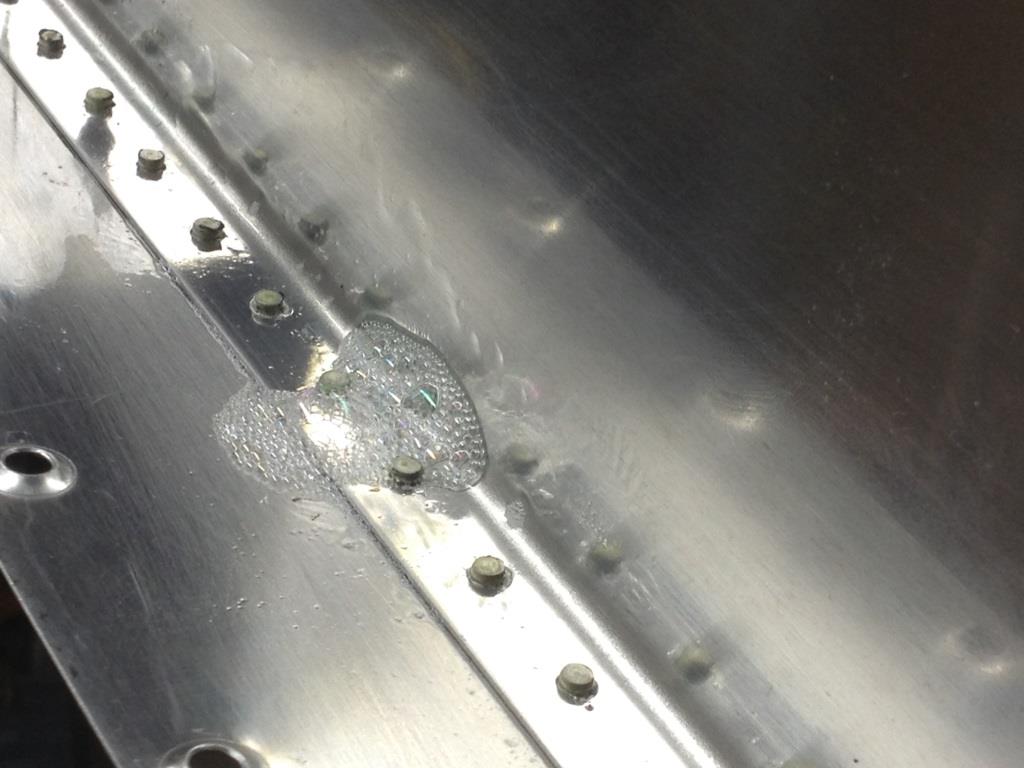
The fuel system was tapped into at an unused 3/8” port on the firewall gascolator. AN6 fittings and 3/8 AL tubing was used to run the fuel sample to a catch container.

The minimum fuel to be drawn from a fuel tank was added to each tank. This minimum fuel is determined by the formula:   1/12*180/2=7.5 lbs. At 6 lbs per USG the minimum fuel is determined to be 1.25 USG or (1.04 Imp.Gal.) or 4.73 litres.

Five litres of fuel was added to each tank. The right fuel tank was selected and the boost pump was run for 1 minute. The fuel collected after 1 minute was measured in a graduated cylinder as 3.81 litres. The test was repeated for the left fuel tank. The fuel collected was measure as 3.75 litres.

A fuel flow of 3.8 l/min equals 228 litres/hr. This converts to approximately 60.23 USG/hr. Using the formula of: .55lbs of fuel *180hp/6lbs per gal= 16.5 USG/hr as maximum fuel requirement.

Conclusion: The electric boost pump and fuel delivery tubing is more than capable of supplying the fuel requirements of the aircraft in a high angle of climb. Required = 16.5 USG/hr , Capable = 60.2 USG/hr.

Fixing the weeper

leak_fix2I hooked the fuel tank up to a vacuum pump and fitted a low range guage to one of the tank fittings. I pulled a 1″ WC vacuum on the tank and sprayed the Loctit 7649 primer on the leak seam. I waited for a few minutes for the primer to work its way into the leak and then dabbed a few drops of Loctite Green 290 on the leak area. I left the vacuum on for a couple of minutes and them shut the pump off. I let the vacuum bleed off and then left the tank to cure for 4 hours. I repeated the pressure test with snoop and the bubbles did not appear. I re-installed the tank the following day. The installation only took an hour to complete. I picked up a very compact 1/4″ ratchet drive that helped speed up the job.

Fuel was added to the tank and after 24 hours there was no sign of any fuel leak. Success! Now on to fuel flow and weight and balance tasks.

Fuel Tank Weeper

tank_off1 tankoff2tank_leak1 tankleak2I guess the pictures tell the story. The weeping rivet on the backside of the tank showed up after the first tank fill. I had pressure tested the tank, but it happens. I’ll get this fixed this week and hopefully back on by the weekend. Removing the tank took about 1.5 hours. I expect replacing to take twice as long. Tonight I’ll get the tank pressured up and dunk it a water tank. That should allow me to pinpoint the problem and develop a plan of attack.


Last night I pressured up the tank and found the leak using leak detecting liquid (Snoop). In the pictures it looks like a rivet leak but it is actually right between two rivets. I checked the rest of the tank and could find no evidence of any other leaks with the snoop. I left the tank pressurized over night and this morning the ballon was just as inflated as I left it 12 hours ago. This is a pretty tiny leak but pesty enough to fix.

I plan to pull a vacuum on the tank and then use Loctite 290 to flow into the void. Loctite 290 is a wicking thread sealant that stands up to leaded petro. I have read of others on the Vans Airforce forum who have successfully fixed weepers using this technique. If this doesn’t work, plan B will be more agressive, cutting into the tank and sealing with pro-seal from the inside, then patching the cut out. Hope I don’t have to go that way.

Weighing in at 1060 lbs

I completed an initial weighing prior to pulling Tango Lima Lima out. With most of the interior installed (stuck in place temporarily) and oil in the engine, I get an empty weight right around 1060 lbs. From various posts I have read on the Vans Airforce forum, this is a decent weight for an airframe with the heavier engine installed. Other RV9A’s with more bells and whistles installed can easily exceed 1100 lbs. My Catto prop helps keep the weight down. A constant speed prop would definitely push me over the 1100 lb. line. The nose wheel weight is sitting at 284 lbs right now. I have read that 325 lbs is the operating limit weight for a 9A. I’ll have to work at the W&B prior to Final Inspection  but I suspect I’m going to be good “as-is”.

Plasti-Dip test

windscreen dip 2My son suggested I try using a spray on rubberized finish on the fiberglass parts. There is a product that is quite popular in the car world for finishing wheels and entire cars called Plasti-dip. Its the aerosal verson of the stuff we used to dip plier handles in to make them non slip. I was concerned the black would be too dull end up with a matte black finish. It actually turned out quite well on the two test areas I did. The canopy skirt and windscreen skirt were primed grey. I applied the spray in 4 light coats at 30 minute intervals. The results are quite satisfactory. Time will tell if this finish holds up. I have oredered up a gallon of the black dip paint, a gallon of naptha thinner and a Earlex HVLP sprayer. The plan is to try painting the wing tips and then see how the larger pieces turn out. I am going to a before and after weigh-in to see how much this finish adds to the aircraft. Don’t expect much of a gain, we’ll see. The other cool thing about this finish is the ablity to peel it off and not leave a residual behind if you want to change color or finish paint the whole aircraft. The real test will be 200 mph airflow with rain. It takes a pressure washer on the U-Tube videos, but you can’t trust everything you see on the internet you know…….windscreen dip1