A somewhat simple asembly, the horizontal filter air box (FAB) took several hours and a couple of fibreglass sessions to complete. If you had a normal Airflow performance throttle body it would be an easier task as per plans,but with the eagle airflow performance throttle body, its overlength is about 1 1/2″ shorter. This places the inlet, which should line up with the cowl snout about 1 1/2″ too high. It appears that some folks solve this problem with aluminum or teflon spacers, I chose to modify the FAB by cutting it in two locations and making 2 bends to get it to the proper height. The alignment with the snout is perfect now and no spacers were required.
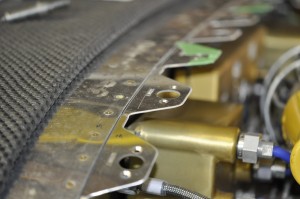
 The FAB has an alternate air inlet which is cable operated from the cockpit. I am holding the lever forward to show the normal operating position. Should the air inlet snout become plugged (maybe a seagull found its way past the prop), I would pull the cable which would allow air from the lower cowl air to enter. The air still passes thru
  the air filter which is directly below the throttle body when the bypass is open.The rubber cowl seal material allows a good seal between the FAB and the inlet snout.
 The last feature of the FAB is the airfilter bypass door. This is provided in case the air filter become plugged. Remember the seagull that got stuck in the snout lost a pile of feathers in the process and plugged the air filter. Another cable operated from the cockpit can be pulled which allows air to flow directly into the throttle body, maintaining power and flight. This bypass door must be reset from ground, assuming a very unusual event caused it to be opened.
I still have cables to install, which will happen once the rest of the firewall forward work is wrapped up.
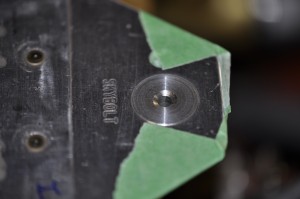
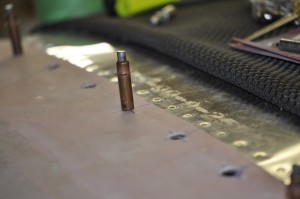
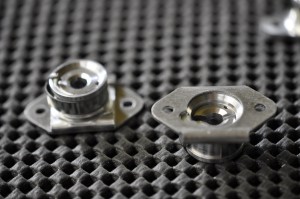
 Here is the finished fastener riveted into the tab. Its a nicely engineered fastener. The internal locking ring of the fastener is threaded so its locking depth may be adjusted to compensate for varying fibreglass thickness. The end result is a flush fitting fastener on the cowl surface with little variation from fastener to fastener.
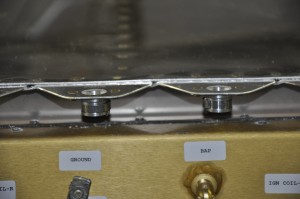
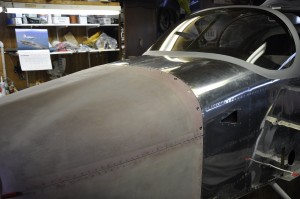
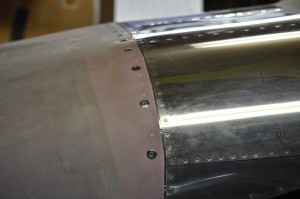
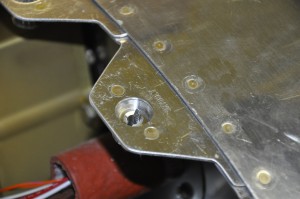
 The gap between the cowl and forward fuselage skin is a bit wider than I was shooting for but it is the same width for the length of the joint. Once paint is on the gap will shrink and ther ewill be no chance of the cowl rubbing on the fuselage skin and making the paint flake off.