Looking into the panel, large cutout on the left for the 10″ Skyview Display.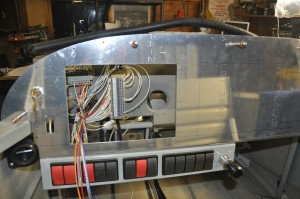 All switches across the bottom of the panel infront of the pilot. No breakers on the panel, all circuits protected by fuses installed in the Power Distribution modules (2) which are located on the right side of the firewall, above the passenger’s feet. The wiring behind the panel is still loosely gathered and messy. It will be cleaned up and wrapped tight once all the wires are in the bundles.
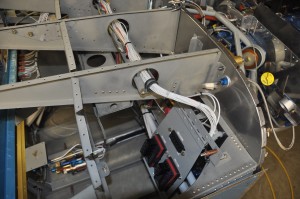 In the left photo you can see the power distribution modules. They hold a total of 20 fuses and 10 relays. The modules are on a hinged door that swings up and latches. The wiring bundle to the loads travels across the fuselage in a cable tray
Category Archives: Electrical System
Control Stick terminal block (TB3)
I installed a Ray Allen stick grip which has 5 buttons in the head of the grip. Two buttons are assigned to the elevator trim control (up and down trim), one is for Auto Pilot Dis-engage command to the A/P servos, one is for a relay which will be used to initiate a command selected in the on board programmable controller (such as start or stop camera recording, start smoke system etc) and the last is the Push to Talk button for radio communications. I brought these wire out to a terminal block which is located below the pilots seat.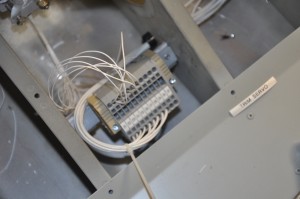 I used the WAGO spring clamping series terminal blocks everywhere I need to provide a junction point. These terminal blocks are designed for high vibration service and do not loosen up like screws do over time. Additional terminals are provided for the flap actuator connections.
Back to wiring
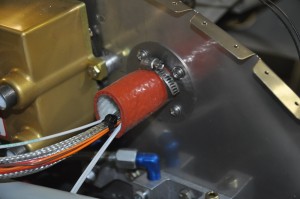
It was time to take a break from the baffle work and work away at the endless wiring chores. Since my last update, I completed the majority of the Precision Fuel and Injection system wiring. First task was to complete the install of the SafeAir firewall penetration kit. This kit allows you to pass all your wiring thru the Stainless Steel firewall and protect the wiring from damage due to vibration or cuts on the razor sharp stainless steel. 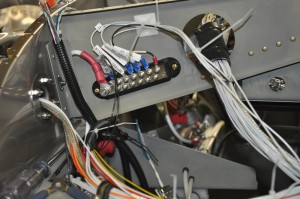 Once completed and sealed, the flames of an engine compartment fire will have to find a different way to burn my toes. heres a couple of shots of both sides of the firewall prior to sealing step. On the top photo the wiring passes into the engine compartment thru a nicely radiused flange and tube. The bottom photo shows the wiring entering the engine compartment thru a fire sleeve which will be finished off with additional firesleeve and stainless banding when I’m sure all the wiring is complete.
Eagle ECU and Skyview Power Distribution
Here is a link to the schematic for the Eagle and Skyview power distribution
Uploaded picture of primary electrical system
Heres a single line diagram of my primary power distribution