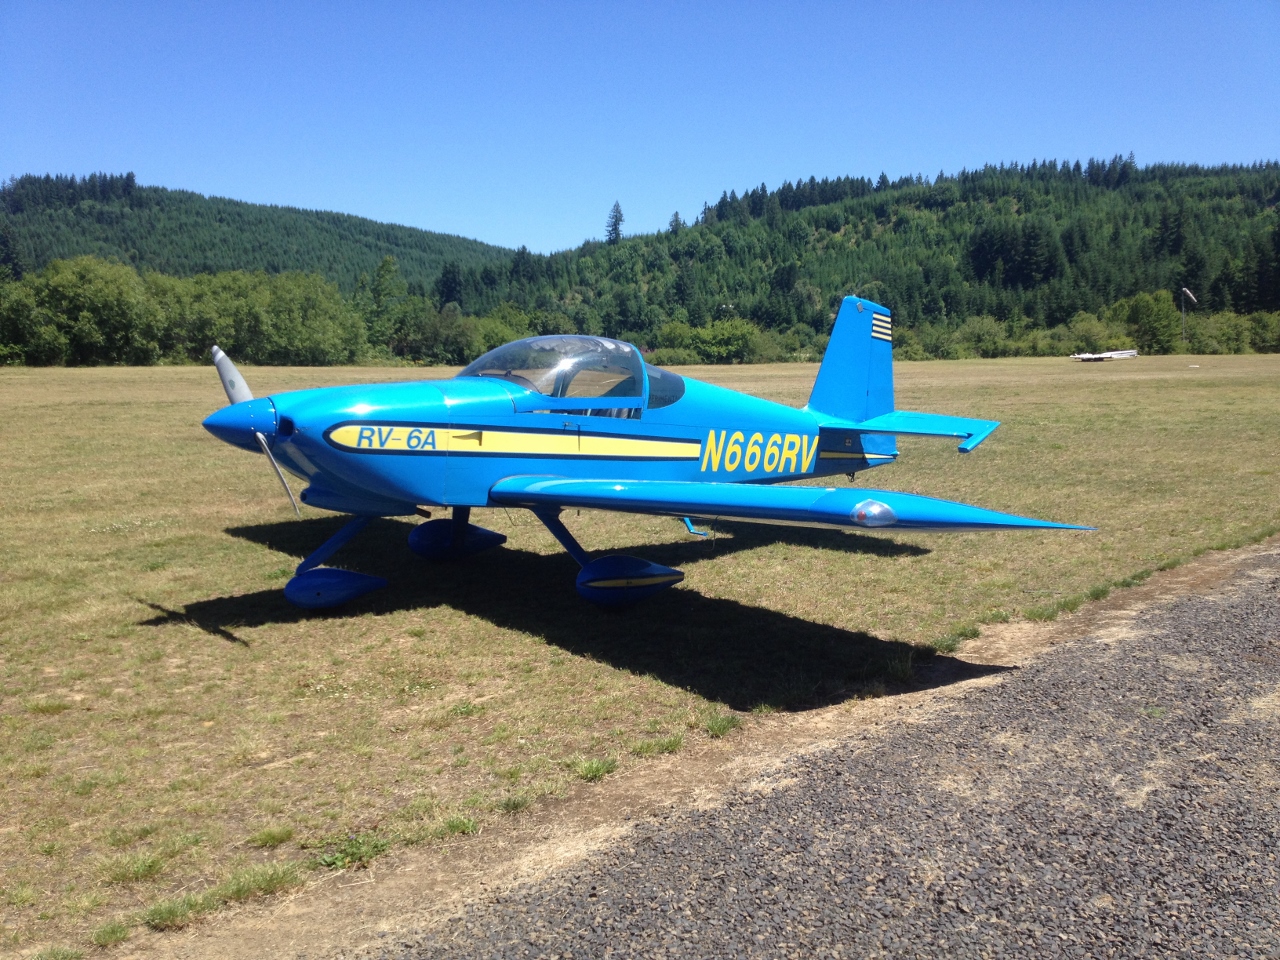
This is the original factory RV6A. It has over 5000 hours on it and three shades of blue for all the pieces that have been replaced. It still feels and sounds solid as we bump over Mikes grass strip.
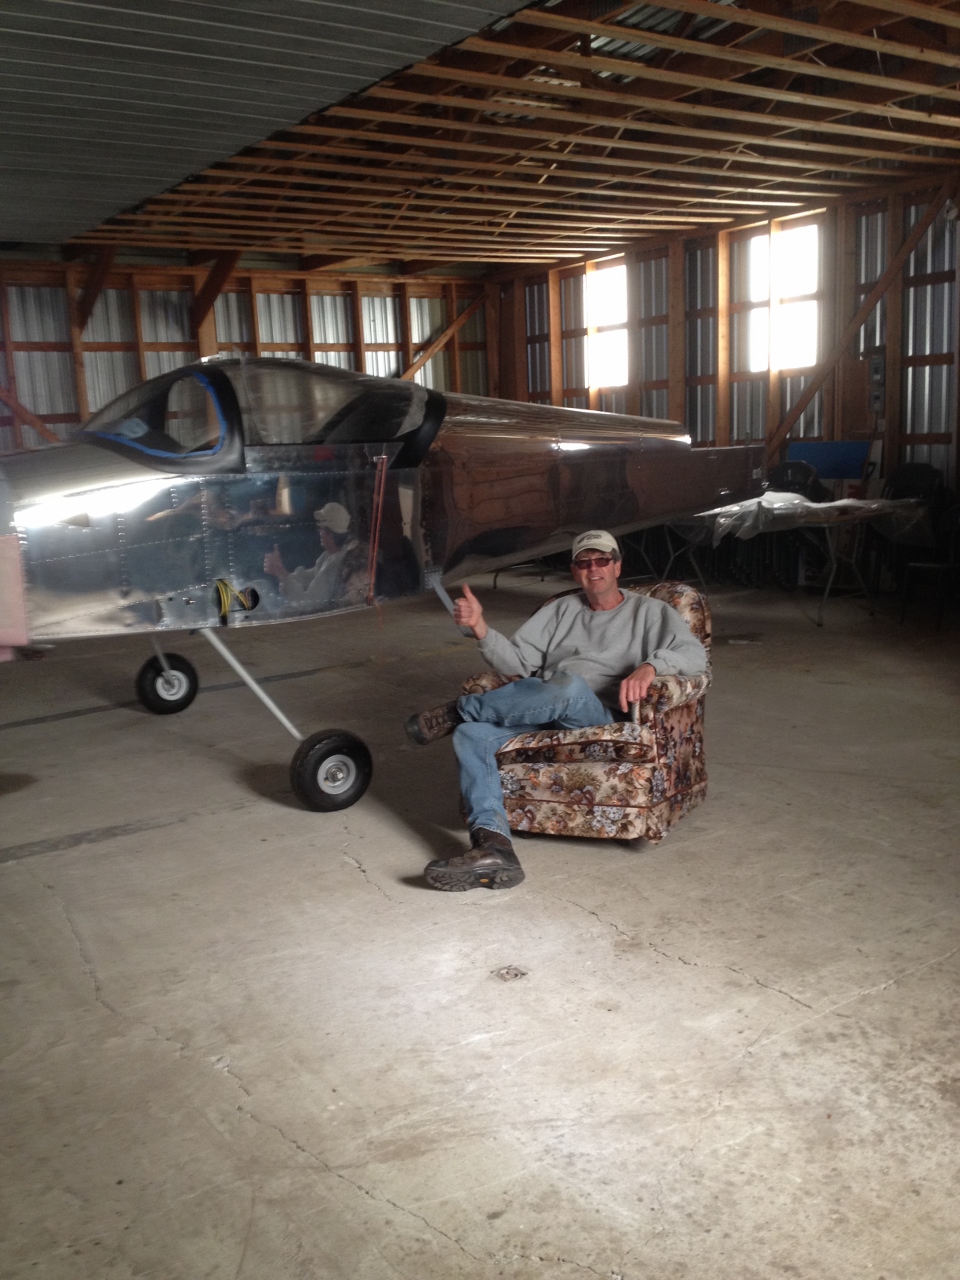
 Today was my first day of transition training with Mike Seager down south in Vernonia Oregon. I flew into Portland yesterday via Alaska Airways from Calgary and then grabbed a rental car for the hour or so drive over to the town of Vernonia. Mike has a couple of hangers at the Vernonia airport just outside of town. Mike has been running transition training sessions for many years and has many thousands of hours experience training with RVs. This week we are training in a RV6A which according to Mike flies the same way as my RV9A, only about 10 mph faster for most of the standard procedures like cruise, flap extension, downwind and final.
Any thing I had read or heard about the RV9A being as easy to fly as a 172 have been discarded after today. Everything happens quickly in this aircraft and a light touch (not grip) on the stick is all that is required. Mike puts a lot of work into getting the trainee into the right mindset for unloading the nose wheel.
I am learning how to steer the aircraft with only differential braking on the mains which is really different from steering with a nose wheel. I feel pretty humbled by this task, darn hard to keep the rudder pedals neutral and keep the aircraft going in a straight line. It was better at the end of the day than it was this morning but still not a pretty scene.
The takeoffs require a technique that involves holding the stick back when power is added, lifting the nose wheel off and then pushing the stick forward slightly until the aircraft lifts off. It happens too quick for me yet, still not ahead of the aircraft this early in the game.
We flew over to Scappoose KSPB which has a paved runway and practiced the circuit and landing procedures. Today we did 6 landings there and two back at the home strip. It was pretty ugly work on my part but I am optimistic it will improve a lot by the end of the week. We also worked on upper air work today, steep turns, climbs, slow flight and stalls. The air was pretty rough in the afternoon but my attention was on the task at hand.
One thing for sure, I have acquired some pretty bad flying habits that Mike is working on breaking. In my 701 I use the trim tab to set aircraft altitude and not the elevator. I usually only use the elevator for takeoff and landing control. In the RV6A I have to use the elevator to get to desired altitude and then trim to hold that altitude. I can see the fault with my old technique now as I am always fiddling with the trim wheel to maintain level flight.
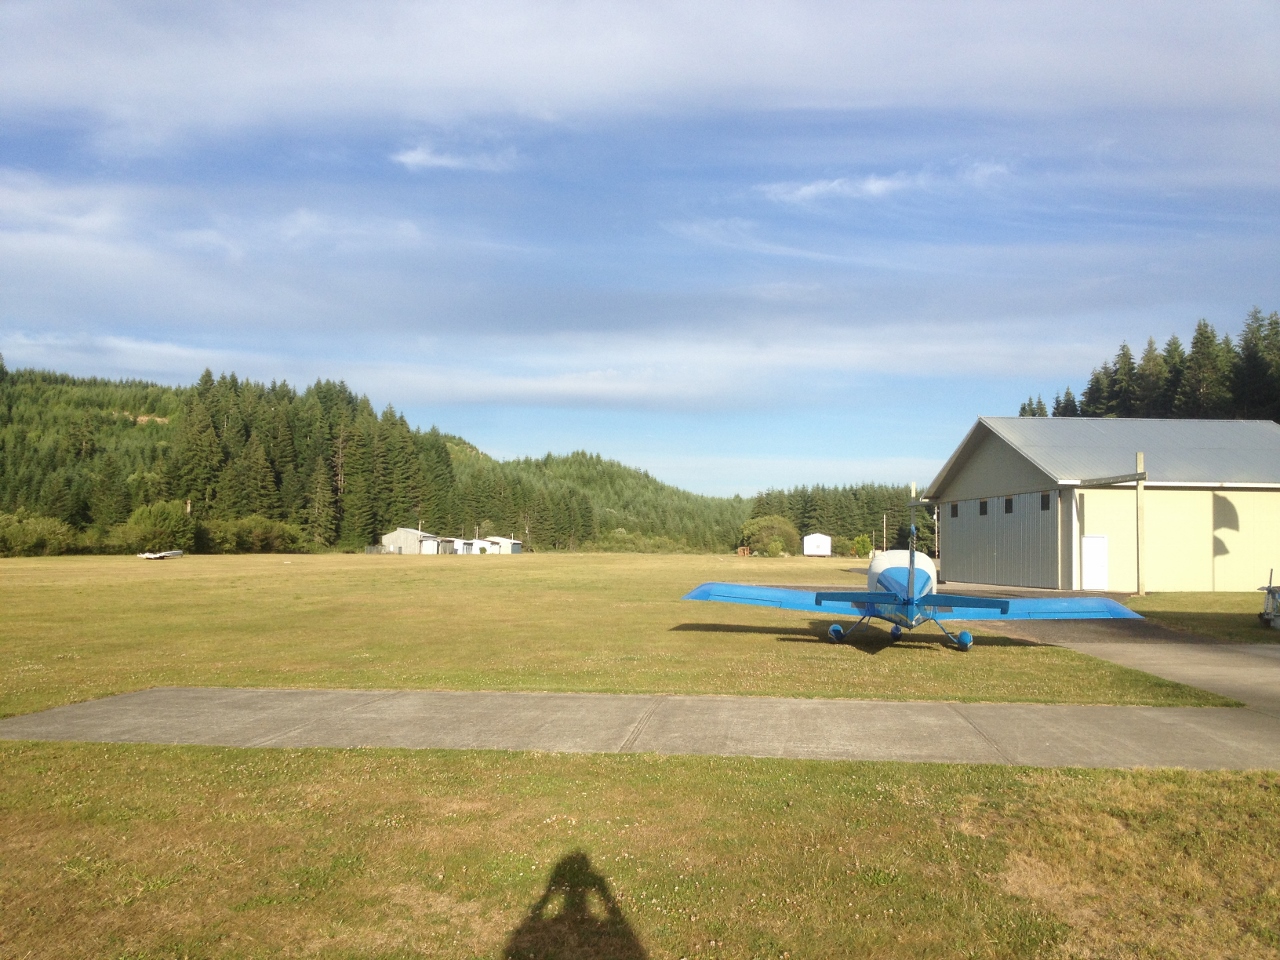
Landing at the home field is pretty cool. You approach the end of the runway at a 45 degree angle where a path is cut through the forest going down the mountain side. You come out of the forest and then lineup with the runway for what’s left of a final approach and landing. This goes on at 85 mph and a decent rate of 500 fpm until you’re over the runway, then cut power and glide in.
So that’s today summary. I was pretty well drained by the end of todays session. Mike asked me a question on final approach to the home field to which I answered, “sorry Mike, I can’t process that question right now “, I only had enough brain left to fly the plane!
Tomorrow will be a great day, sunshine and warm weather.