Subaru EJ25 Engine with Marcotte M200 Redrive for sale

I have decided to sell this beautiful 165 HP engine package to keep the cash flowing in for completion phase of the RV9A project.

2005 EJ25 engine, removed from rollover donor car with slightly over 5,000 kms on it. I started and ran the engine while it was in the donor car to ensure it was healthy.

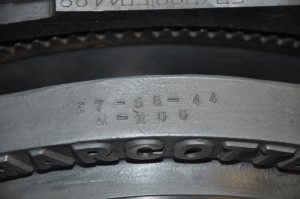
2007 Marcotte redrive M200 series, 2.03 ratio, new, installed on EJ25 block with alum flywheel and stock subaru starter and ring gear.


Bed Style motor mount with Barry Isolators installed

Asking $5000for the works but will negotiate a reasonable offer.
Glove box building

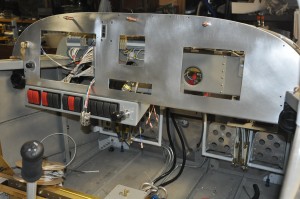
This week I hope to build and install a glove box in the instrument panel. The glove box will occupy a large cutout that was made for a future glass panel screen. If after flying off my first 40 hours, I find that the 10 inch screen does not display all the data I need to safely fly the aircraft, I’ll pull the glove box out and slip the second 7 inch screen in. Its that simple. I also have made provisions for power and network connections for the second screen.

I completed all the metal work for the glove box last night. Its a simple cube made of 6061T6 aluminum .025 thick and 032 thick on the bottom surface. Dimensions are approx 7″ square. I plan to install the two communication ports for the Eagle ECUs (left and right) in this box, along the forward surface. Normally the engine monitor will poll data from these ports but if necessary, I can disconnect the engine monitor and connect a lap top to the desired ECU port.

Should be able to pack a good sized lunch and camera away in it.

Wire labels made easy

In a project like this, it is essential to provide accurate wiring diagrams and well marked wires. I use the Bee3 wire label maker. It prints the wire number and device info on a heat shrink sleeve. Slip the sleeve over the wire before stripping and terminating. Once the wire is terminated, you apply heat with a heat gun and you end up with a professional looking wiring job.

Instrument Panel Cutouts

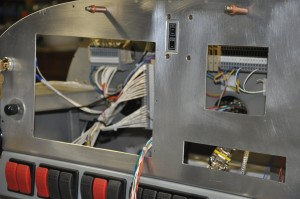
I decided to go with a PS-Engineering radio and intercom package, the PAR100. Its a nice compact package that only needs a cutout 1.3″ tall and the standard radio stack width of 6.25″. That eliminated the need for a separate intercom in the comm stack. The next item to consider was the transponder. Dynon includes a transponder option for the Skyview system. The transponder is accessed via the Skyview screen so a panel cutout is not necessary for the transponder face plate. The transponder box is remote mounted and takes power from a dedicated circuit. I made cutout on the right side of the panel for a future 7″ Skyview display screen. For the time being I will build a glove box in the cutout hole. If and when I need the second screen, I’ll remove the glove box and slip the panel in.

All the panel cutouts were done with a jig saw and a bosch metal cutting blade. It worked very nicely on this 2024 aluminum. Finished up the cutouts with a few different file cuts.

I installed the Eagle ECU annunciator just right and above the 10″ Skyview Display. I installed the mixture adjust knob just to the left of the 10″ Skyview display.

Ignition wiring

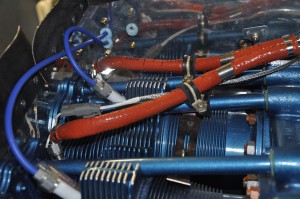
I received the ignition wire flanges that allow the HV cables to pass thru the engine baffles for the four upper spark plugs. There are four of these installed, two have two holes and two have one hole. I used the two hole flanges for HT leads and and single hole flanges for passing the T/C leads thru. To install these flanges, the baffles had to be removed again. Wish I had these on hand earlier as it would of saved time. While the baffles were off I picked up a couple of odd tasks that were easier to complete without tin work in the way. The bottom spark plug leads were routed to each side of the engine using lots of cable brackets for support and routing.

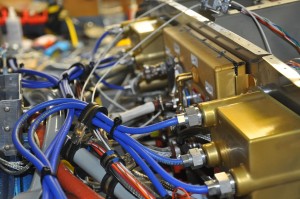
This wraps up the firewall forward portion of the Eagle System installation. The installation is quite busy, a lot of components in a small area. It would of been even more crowded if I had decided to install the PMU forward of the firewall.